Hive notification help
- Under 'Contact Details', enter:
- Hive registration code
- Full name
- Your role (owner, manager, other)
- Contact email
- Contact mobile phone.
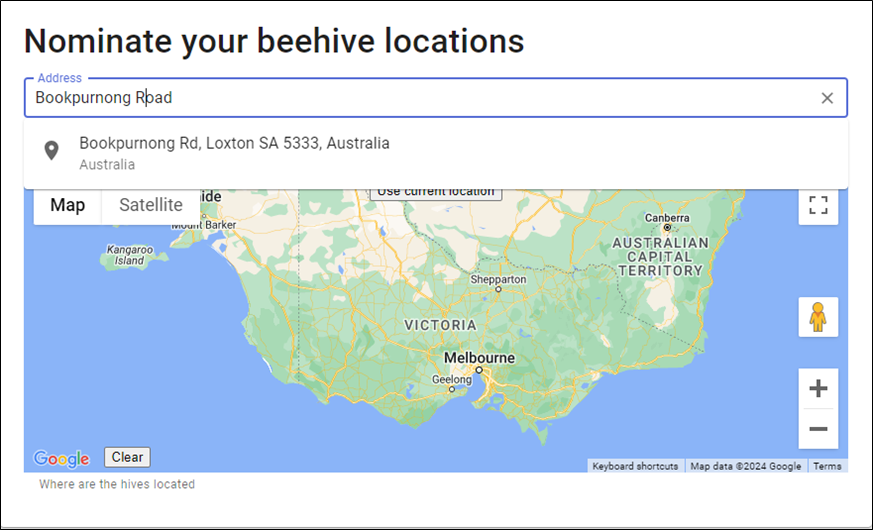
- Under 'Nominate your beehive locations', start typing the address, and select it from the drop down list.
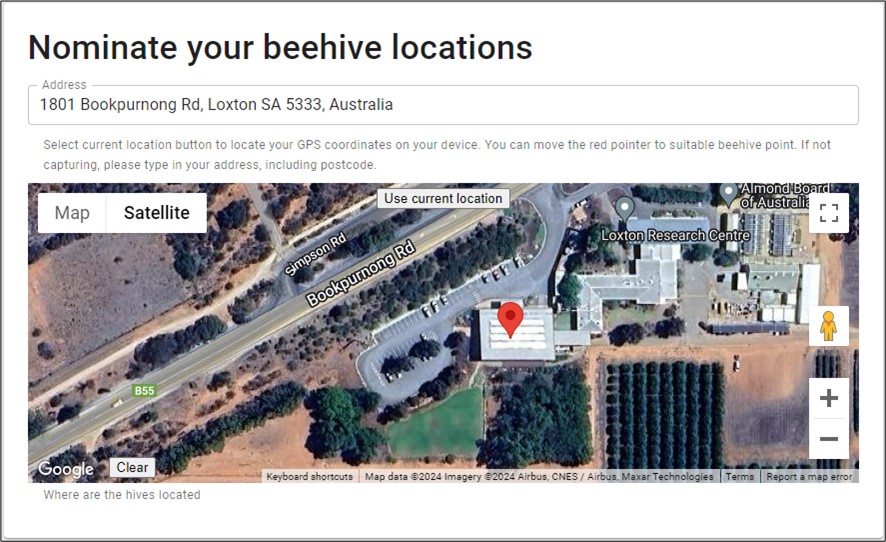
- Use the 'Satellite' view and zoom in using the '+' button to reposition the red pin accurately.
- If using a mobile device (mobile phone or tablet) near a beehive, select the 'Use current location' button to automatically capture the GPS coordinates.
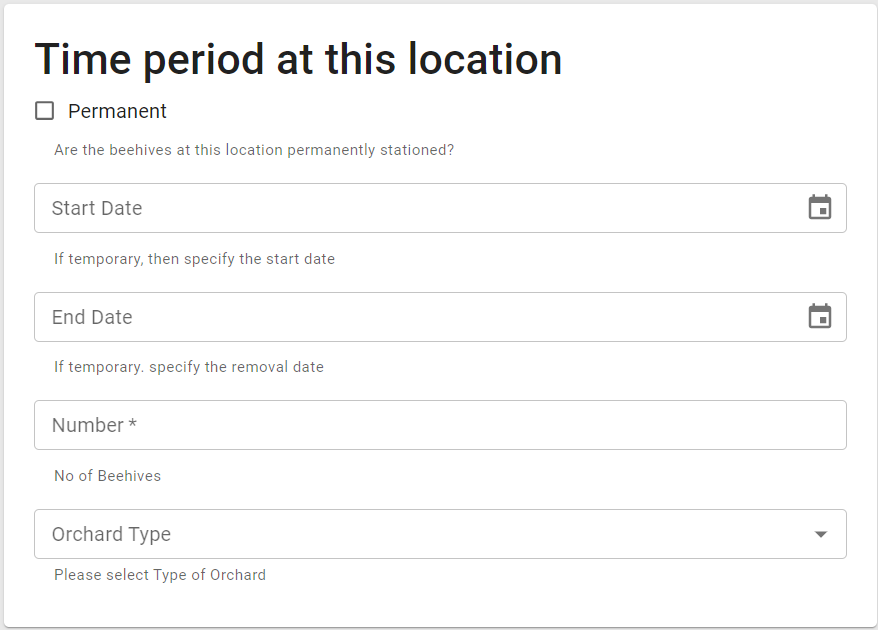
- Under 'Time period at this location', tick the 'Permanent' box if the hive isn’t being moved. If the hives will only be at this location temporarily, enter the Start Date and End Date or click on the calendar icon to select from the calendar.
- Enter the number of hives at this location and select the type of orchard:
- Pome
- Citrus
- Stone fruit
- Almonds
- Vineyard
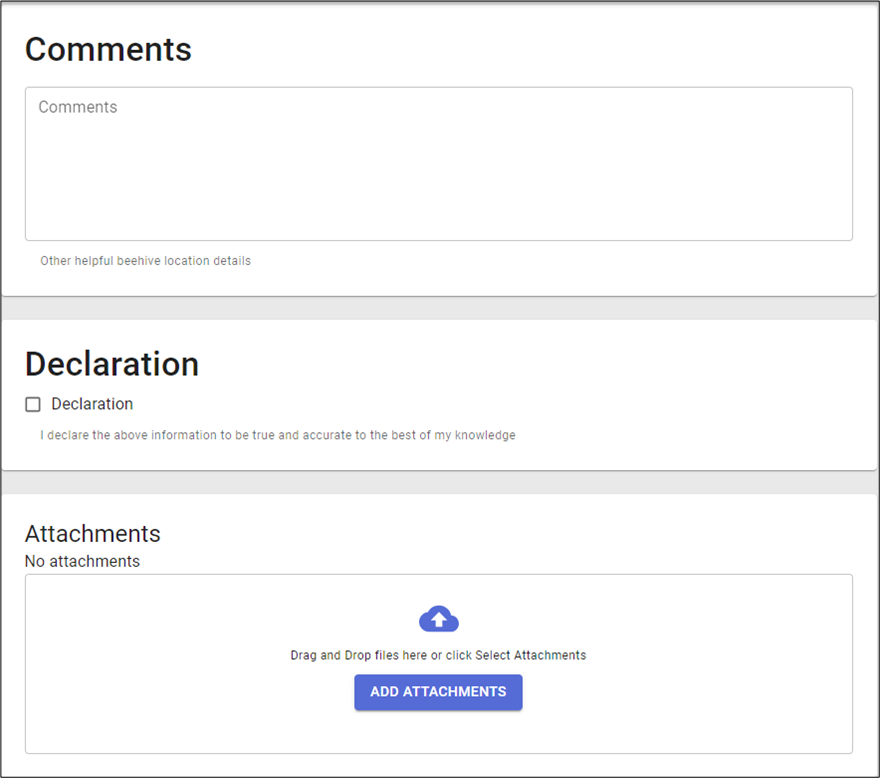
- Enter any comments or helpful information for PIRSA field staff when locating beehives on your property.
- Tick the declaration box to declare the information to be true and accurate.
- Click on 'Add Attachments' if you would like to upload any photos of the beehives on your property.
- Click 'Submit'.
- Click 'Download Notice' to save a copy of your hive notification receipt.
- If you have other beehives at this (or another) property, you can submit another hive location to ensure the 50 m buffer.